Installing Woven Wood Shades: Kansas City Experts Explain the Process
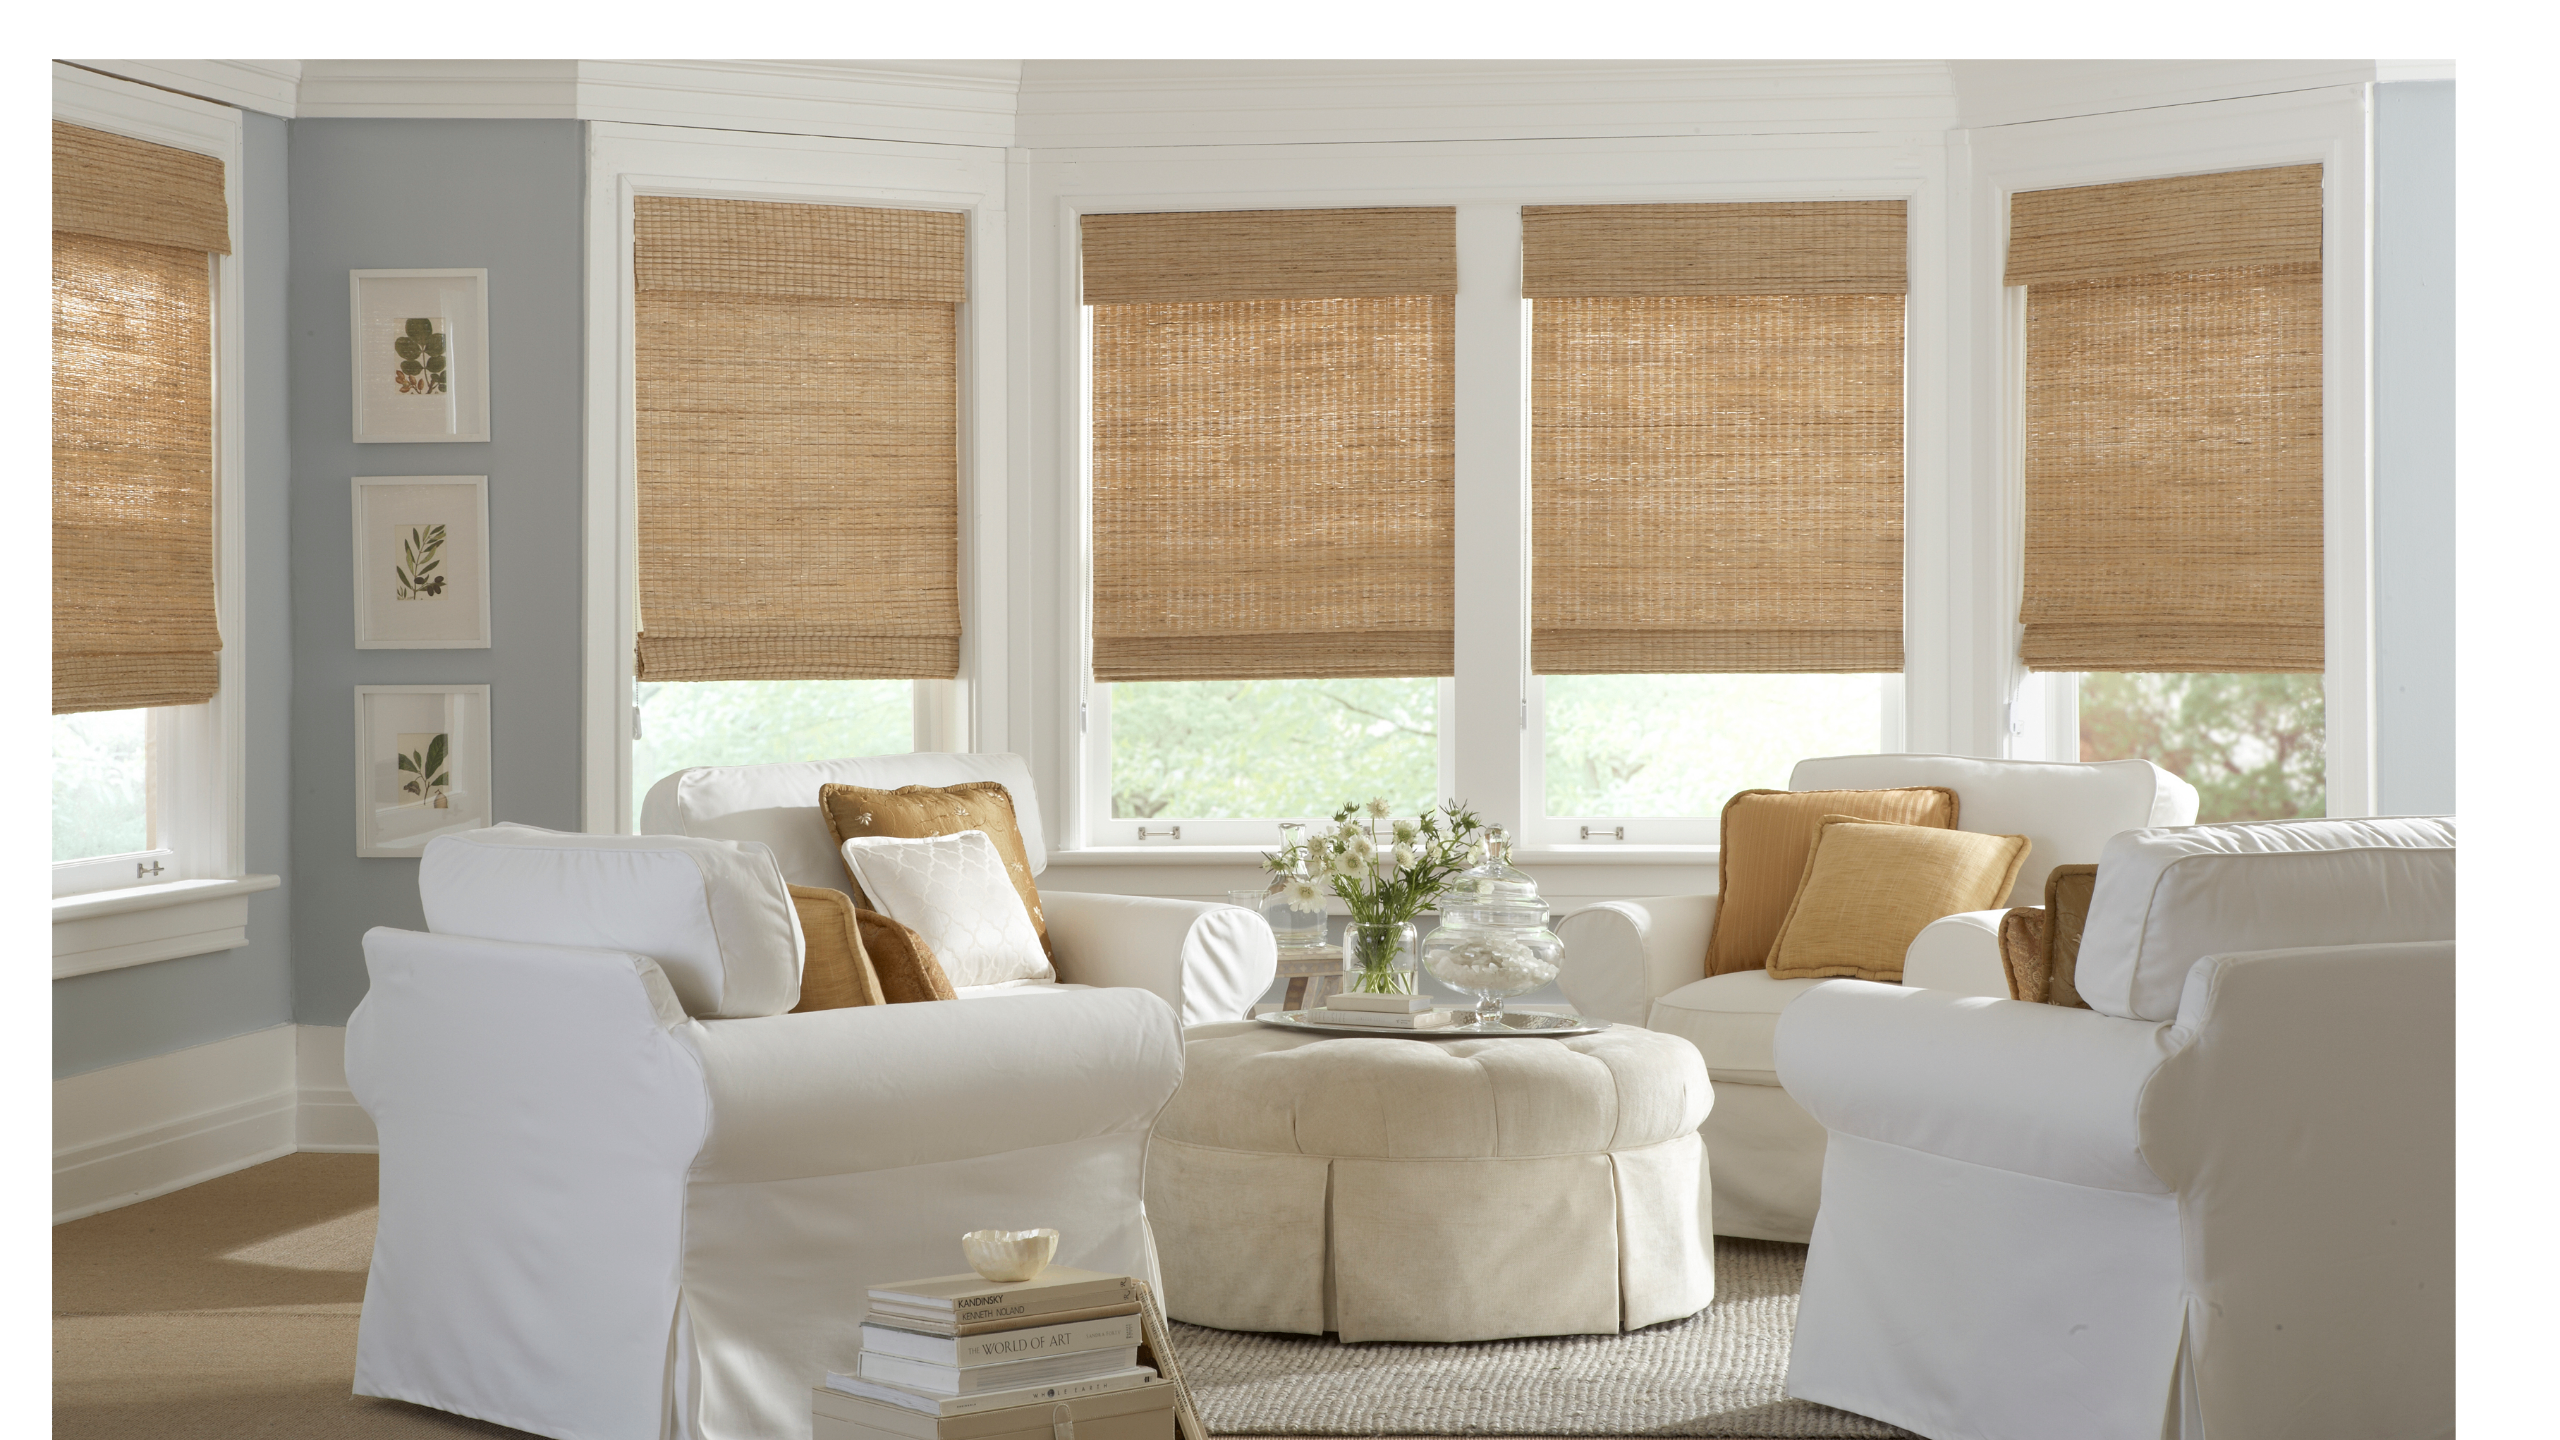
Woven wood shades bring texture and warmth to a room, but achieving a clean, functional result depends heavily on how they are installed. From measuring to mounting, several details determine whether a shade will operate smoothly for years or cause frustration from day one.
Measuring the Window Correctly
Accurate measurements are the foundation of a successful installation. Kansas City experts from Inside Solutions explain that woven wood shades can be mounted inside the window frame or outside it, and each option requires different measurements. For an inside mount, installers typically measure the exact width and height of the window opening, subtracting a small amount to allow the shade to move freely without rubbing against the frame. For an outside mount, measurements usually extend a few inches beyond the frame on each side to ensure full coverage and better light blocking. Getting these numbers wrong is one of the most common reasons shades fit poorly or fail to close properly.
Choosing Between Inside and Outside Mounts
The mounting style affects both appearance and function. Inside mounts create a clean, built-in look and work well when the window frame is deep enough to accommodate the shade's headrail. Outside mounts are often preferred when a window frame is shallow, uneven, or when a homeowner wants the shade to make the window appear larger. Experts generally recommend inspecting the frame depth and condition before deciding, since a frame that is warped or too shallow can cause problems with an inside mount, regardless of how precise the measurements are.
Installing the Mounting Brackets
Once measurements are confirmed, brackets need to be installed at the correct height and spacing to support the headrail evenly. Uneven bracket placement is a frequent cause of shades that hang crookedly or bind when raised and lowered. For wider windows, a center support bracket is often necessary to prevent the headrail from sagging over time. Using a level during this step helps avoid small errors that become more noticeable once the shade is in daily use.
Attaching and Testing the Shade
After the brackets are secure, the shade itself is attached to the headrail and tested before any final adjustments are made. This is the point where installers check that the shade raises and lowers smoothly, that the fabric hangs evenly, and that any cordless or motorized lift mechanism operates as expected. Testing at this stage allows adjustments to be made before the installation is considered complete, rather than after the homeowner has already been using the shade for weeks.
Considerations for Cordless and Motorized Options
Many households now choose cordless designs, particularly where children are present, since removing a cord reduces a common safety hazard in the home. Motorized shades add another layer of consideration, since power access and remote pairing need to be addressed during installation rather than left for later. These features do not change the fundamentals of measuring and mounting, but they do add steps that require attention to detail, particularly when wiring or battery placement is involved.
Avoiding Common Installation Mistakes
Some of the most frequent issues experts encounter include shades mounted too close to the window frame, brackets installed without a level, and measurements that fail to account for obstructions like window cranks or blinds hardware. Taking time during the planning stage, rather than rushing to the mounting step, tends to prevent most of these problems before they occur.
Why Professional Installation Often Makes a Difference
While measuring and mounting woven wood shades is a task some homeowners attempt on their own, the process involves enough variables, frame depth, bracket alignment, and mechanism testing, that small errors can compound quickly. Professional installers bring experience with these variables across many different window types, which often results in a smoother operating shade and a cleaner overall finish. For homeowners investing in natural materials that are meant to last, getting the installation right from the start tends to be worth the extra consideration.
Inside Solutions, LLC.
City: Overland Park
Address: Overland Park
Website: https://www.insidesolutionsllc.com


Comments
Post a Comment